Setup a DNS server - Linux
The Domain Name System, or DNS, is one of the Internet’s fundamental building blocks. It is the global, hierarchical, and distributed host information database that’s responsible for translating names into addresses and vice versa, routing mail to its proper destination, and many other services.
If you have following the previous articles (Web, FTP and Mail), you probably take notice that when we want to connect to server, there is always a IP (127.0.0.1) in the midle of the process. So in this article we gonna associate all servers into one name (linux.dr.pt). First step is to install a DNS Server on the machine.
BIND
BIND (Berkeley Internet Name Domain) is an implementation of the DNS protocols and provides an openly redistributable reference implementation of the major components of the Domain Name System. The BIND DNS Server is used on the vast majority of name serving machines on the Internet, providing a robust and stable architecture on top of which an organization’s naming architecture can be built.
Lets start installing bind and configure it to our needs:
$ sudo apt-get update
$ sudo apt-get install bind9
$ cd /etc/bind
$ sudo nano named.conf.options
1
2
3
4
# Uncomment this lines
forwarders {
8.8.8.8;
};
$ sudo nano named.conf.local
1
2
3
4
5
# Add this lines
zone "linux.dr.pt" {
type master;
file "/etc/bind/zones/linux.dr.pt.zone";
};
$ sudo mkdir zones
$ cd zones
$ sudo nano linux.dr.pt.zone
Copy the next code and edit to your needs (ip address and domain name).
1
2
3
4
5
6
7
8
9
10
11
12
13
14
15
16
17
18
19
20
21
22
23
24
25
;
; BIND data file for linux.dr.pt
;
$TTL 3h
@ IN SOA ns.linux.dr.pt. admin.linux.dr.pt. (
2016012001 ; YYYYMMDDXX
3h ; Refresh
3h ; Retry
1w ; Expire
1h ) ; Negative Cache TTL
; NS Records
@ IN NS ns.linux.dr.pt.
; A Records
linux.dr.pt. IN A 10.0.0.101
ns IN A 10.0.0.101
mail IN A 10.0.0.101
; CNAME Records
www IN CNAME linux.dr.pt.
ftp IN CNAME linux.dr.pt.
; MX Records
linux.dr.pt. IN MX 10 mail.linux.dr.pt.
$ sudo nano /etc/resolv.conf
1
2
3
# Change this lines
nameserver 10.0.0.101
search linux.dr.pt
$ sudo nano /etc/hosts
1
2
# Delete this line
127.0.0.1 mail.linux.dr.pt
$ sudo service bind9 restart
$ nslookup linux.dr.pt

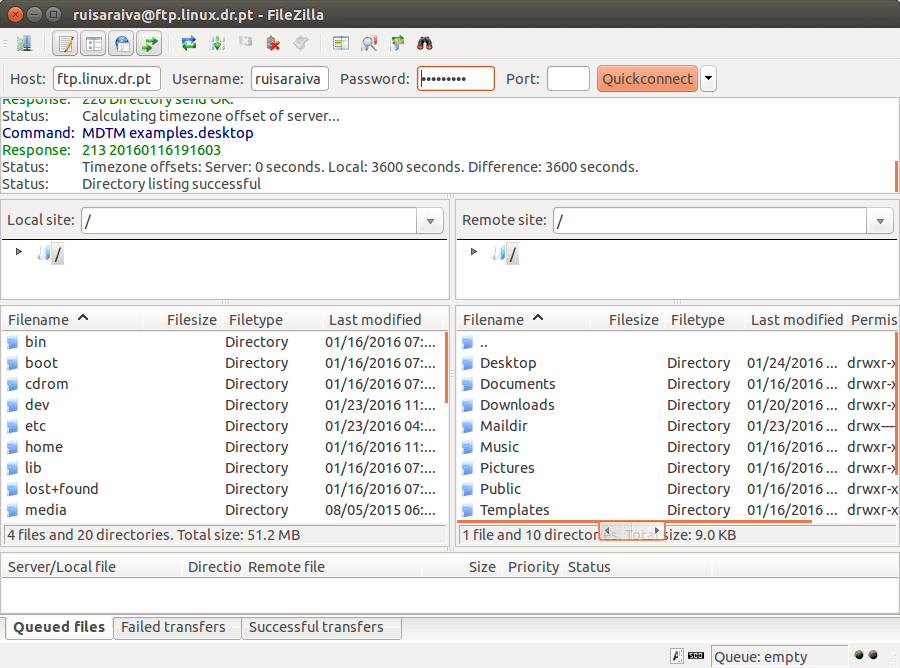
Now when you want to connect to FTP server for example, you just type ftp.linux.dr.pt on the host text box, username and password and it will connect like with the 127.0.0.1 ip address.
On Thunderbird you can add a new email account and it will discover the mail server automatically, see the animation below: